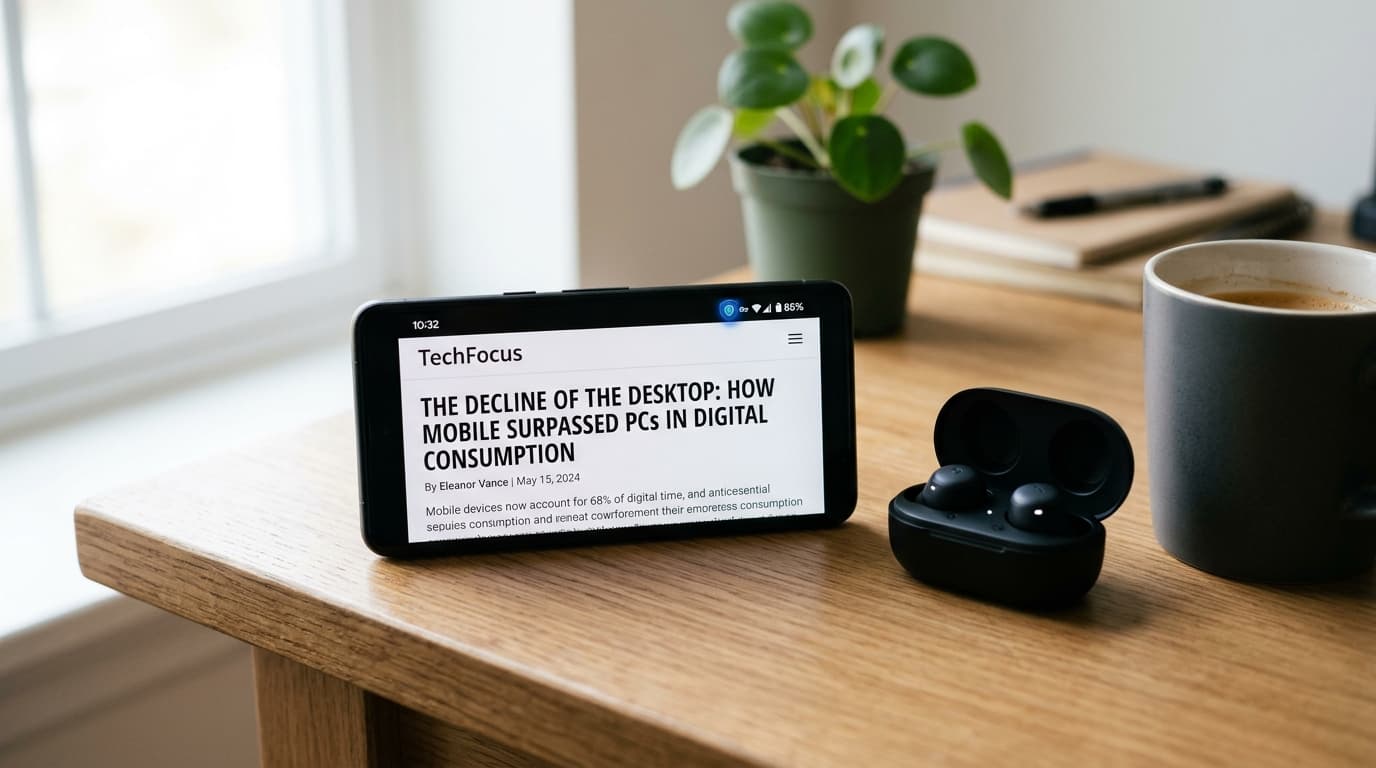
Mobile web browsing and free mobile apps have devolved into a hostile sensory landscape. Opening a standard news article on an unprotected Android phone triggers full-screen auto-playing video interstitials, floating sticky banners that obscure half your screen, deceptive 'Install Clean Master' vibration alerts, and dozens of invisible telemetry trackers logging your precise location and browsing habits. Beyond being infuriating, online advertising accounts for an estimated twenty to thirty percent of mobile cellular data consumption and drains smartphone batteries through constant background JavaScript execution.
Years ago, blocking ads system-wide across Android required unlocking your phone's bootloader, voiding warranties, and rooting the operating system to modify the internal `/etc/hosts` file. Today, thanks to modern network standards built natively into Android (Android 9 Pie through Android 15), you can achieve complete, system-wide ad and tracker blocking across all apps and browsers in under thirty seconds—without installing risky root exploits or paying monthly subscriptions.
Method 1: The Native Android Private DNS Technique (The 30-Second Solution)
This is the cleanest, most elegant ad-blocking method available for modern smartphones. It requires zero third-party app installations and works universally across both Wi-Fi and mobile 5G/4G cellular connections. It leverages encrypted DNS over TLS (DoT): every time an app or website requests an advertising domain, the DNS resolver returns an immediate null IP (0.0.0.0), completely preventing the ad from downloading.
- Open the Settings app on your Android device.
- Navigate to Network & Internet (or Connections on Samsung Galaxy devices).
- Tap 'More connection settings' > select 'Private DNS'.
- Select 'Private DNS provider hostname'.
- Enter either of these reputable, free ad-blocking DNS hostnames: `dns.adguard-dns.com` (AdGuard Public DNS) or `p2.freedns.controld.com` (Control D Ad & Tracker Shield).
- Tap 'Save'. Your phone is now instantly protected system-wide. Open any mobile game or ad-heavy website to verify that banner ads have completely disappeared.
Method 2: Browser-Level Content Blocking (For Video and Cosmetic Filtering)
While Private DNS blocks ad network servers, it leaves empty gray boxes or broken layout spaces on websites where banners used to sit. For absolute perfection inside web browsers—including blocking video ads on YouTube—you should deploy dedicated browser-level content blockers:
- Brave Browser: Built on Chromium, Brave includes native Rust-based 'Brave Shields' that strip tracking scripts, cookie consent banners, and video ads out of the box with zero configuration.
- Firefox for Android + uBlock Origin: Download Mozilla Firefox from the Play Store, tap the three-dot menu > Add-ons > install 'uBlock Origin'. This brings the gold standard of desktop content blocking to your phone, including element zappers to remove annoying website popups.
Comprehensive Comparison of Android Ad-Blocking Methods
| Method | Setup Difficulty | System-Wide App Coverage | Battery Impact | Root Required |
|---|---|---|---|---|
| Android Private DNS (AdGuard / Control D) | Extremely Easy (30 sec) | Yes (All games, browsers & apps) | Zero (Uses native OS network stack) | No Root Needed |
| Firefox + uBlock Origin Extension | Easy (2 minutes) | Browser only | Negligible | No Root Needed |
| Local VPN Loopback (AdGuard App / Blokada) | Moderate | Yes (Advanced cosmetic filtering) | Low (Runs local VPN tunnel) | No Root Needed |
| Traditional Root Hosts File (AdAway) | Advanced / High Risk | Yes (Kernel level) | Zero | YES (Unlocks bootloader) |
Troubleshooting: What to Do If a Website Refuses to Load
Occasionally, certain corporate Wi-Fi networks (like hotel login portals, hospital guest networks, or workplace Wi-Fi) block encrypted DNS over port 853, resulting in a temporary 'No internet access' warning on your phone.
Quick Wi-Fi Portal Fix: If a public hotel or airport Wi-Fi login page refuses to appear, temporarily set your Private DNS setting back to 'Automatic'. Complete the splash screen login, then switch Private DNS back to `dns.adguard-dns.com`.